My name is Jena, and I've been nick-named the Vista Print Goddess.
Feel free to email me through the contact form on the home page.
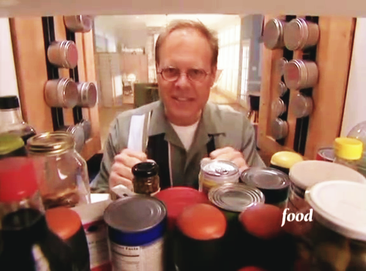
So I've been obsessed with creating the PERFECT spice rack for DH... it's been a slow-burning obsession... for years, with small steps along the way. It started while watching Good Eats - Alton Brown is basically the god of our kitchen, we turn to him first whenever we need advice.
But velcro? Nah. All I could think was that every now and then I would want to wash out the containers, and that could mess with whatever adhesive was keeping the velcro on the individual tins. Not to mention, we rent, and what would the strips leave along the insides of the cabinet doors?
But velcro? Nah. All I could think was that every now and then I would want to wash out the containers, and that could mess with whatever adhesive was keeping the velcro on the individual tins. Not to mention, we rent, and what would the strips leave along the insides of the cabinet doors?
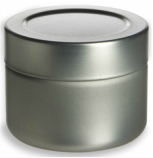
So the first step was to find containers. I wanted food-grade containers, that did NOT have clear lids. The insides of cabinet doors don't see a lot of sunlight, but in general, light isn't good for the longevity of spices (and I wasn't sure these were going inside the cabinets anyway). After much (MUCH) internet browsing, I found these gems (Clicky): 3oz twist-lug tin containers. They're $0.86/ea. These containers are food grade and feature a plastic lid insert which creates a secure seal, protecting your product from moisture, light and air.
We get all our spiced from the local natural/organic grocery store, where they have basically any herb/spice you could want in bulk bins. So I completely run out of something, I usually bring the whole container to the store, zero the scale out, and then fill the container (**you want to zero the scale out so you're not paying for the weight of your tin - remember to re-zero it after you've taken the tin off). One less baggy and zip tie used!
Idea #1: Purchase magnetic knife racks. You screw them into the wall, and the tins stick to them, done.
Idea #2: Purchase magnets, use E6000 epoxy to mount them to the bottoms of the tins, and use the side of your refrigerator to organize the tins. That's what we ended up doing for a few years.
But, the refrigerator in our new place is boxed in my cabinets, leaving only the front open to stick things on. I wasn't sure how the set up would hold up to opening and shutting doors. I don't think they would have fallen off, but I bet they would have slid around a bit.
|
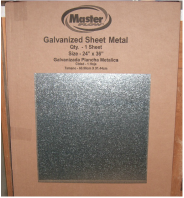
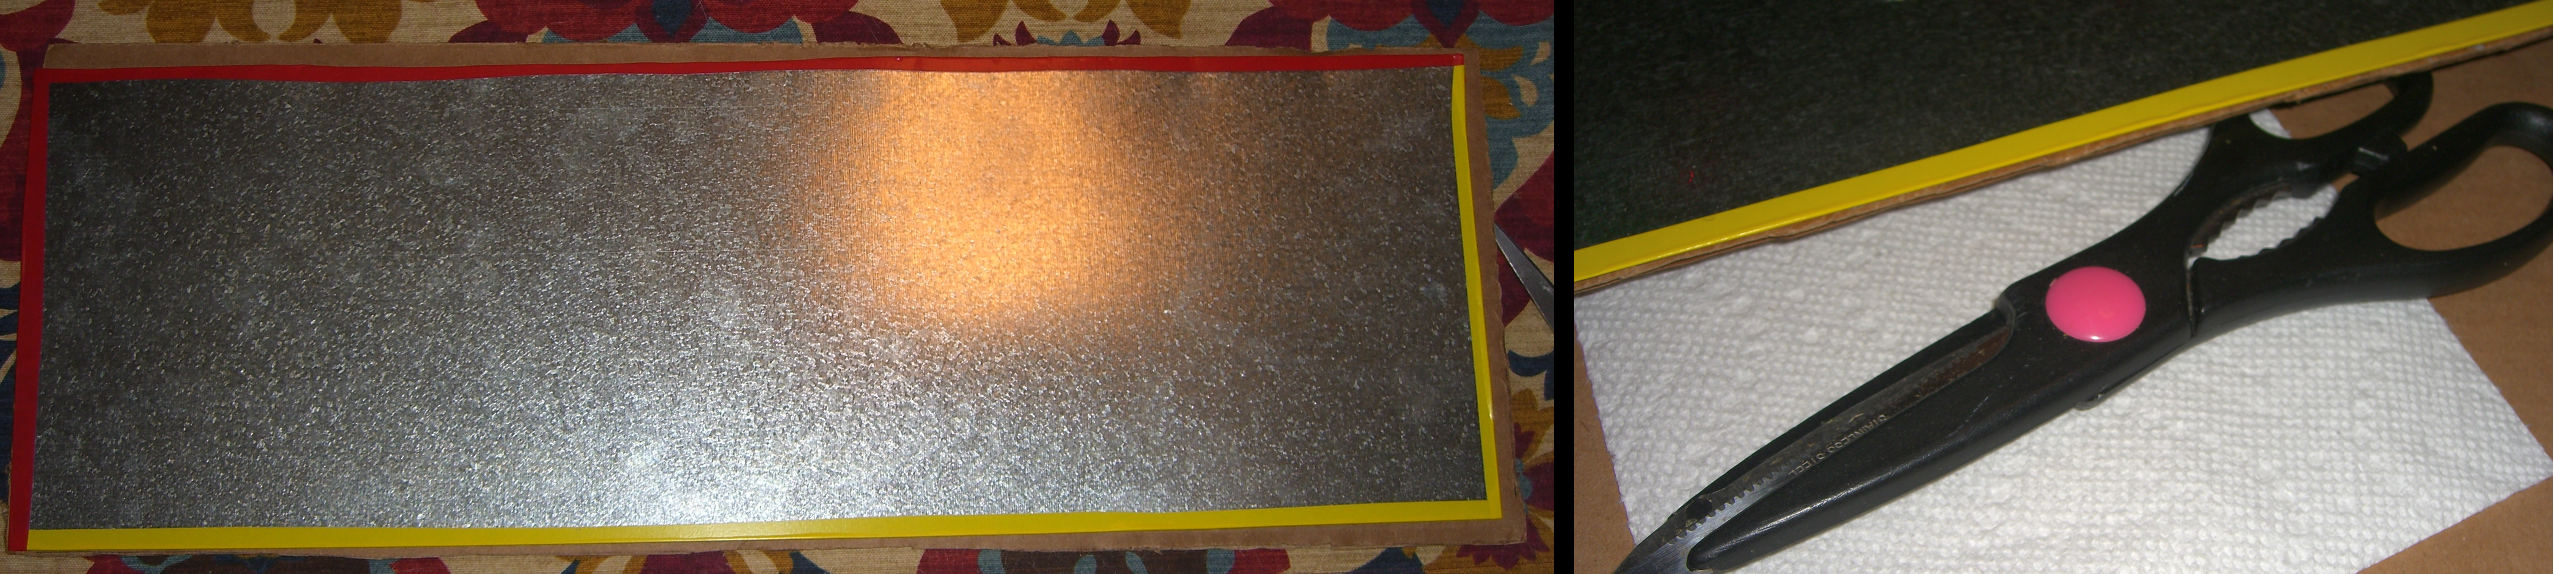
Then Xmas 2014, remember I bought those sheets of metal to make magnet boards for our nieces? I had a rectangular strip leftover from each, about 8"x2'
Why not turn those into magnet spice boards?? |
|
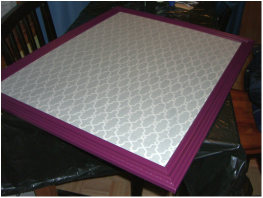
I wrapped the sharp edges in electrical tape. Honestly, you can probably skip this step. Then I glued it down to a piece of cardboard (using my epoxy love, E6000). Once it had set, I used crappy old kitchen scissors to trim off any overhanging cardboard. You can click on the image below for a larger version.
I used about 2 yards (for each) of 2" black grosgrain ribbon to edge these "boards." This was one of those "hey why not use what I have" projects. Given unlimited funds, a pair of frames would be easier, and look more polished. This is the seller I buy ALL my custom frames from. Their work is reasonably priced and high quality (Clicky). But, as I said, I was trying to use supplies I already had on hand.
I ironed the ribbon in half to make it "foolproof." I spread a line of E6000 along a side, smoothed the ribbon on it, and used clothespins to keep it in place until it dried. Then I flipped it over and glued down the back side.
I ironed the ribbon in half to make it "foolproof." I spread a line of E6000 along a side, smoothed the ribbon on it, and used clothespins to keep it in place until it dried. Then I flipped it over and glued down the back side.
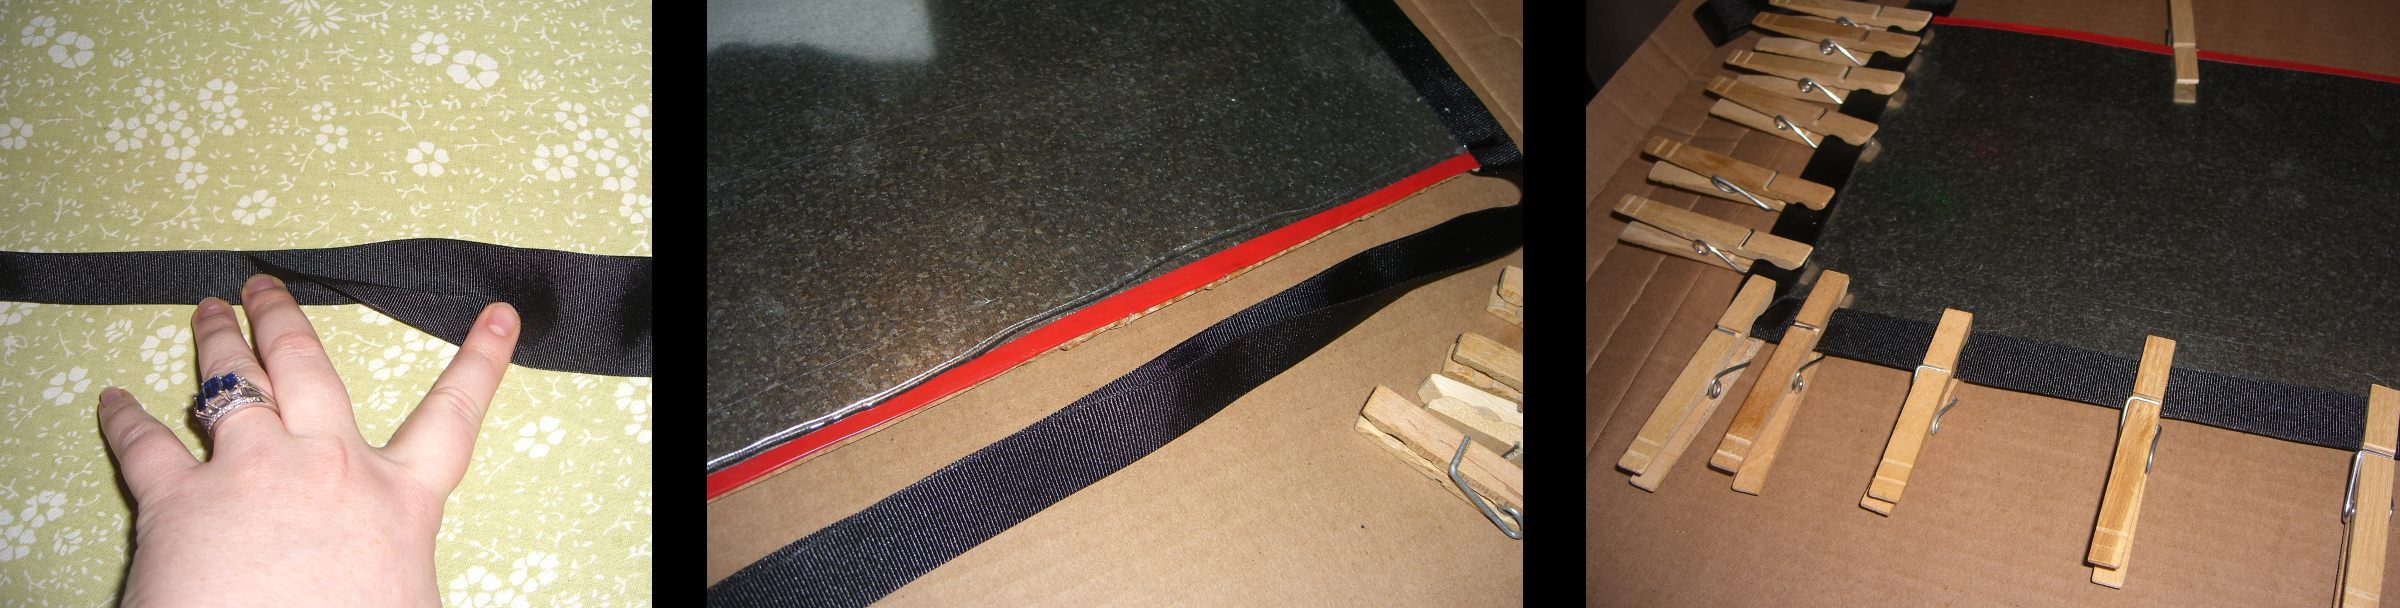
After the ribbon was all dried, I used Command strips on the back and on the cabinet doors. I used two, cut them each in half, and then placed them at the four corners. If I had purchased frames, I probably would have used a whole strip at each corner for added strength.
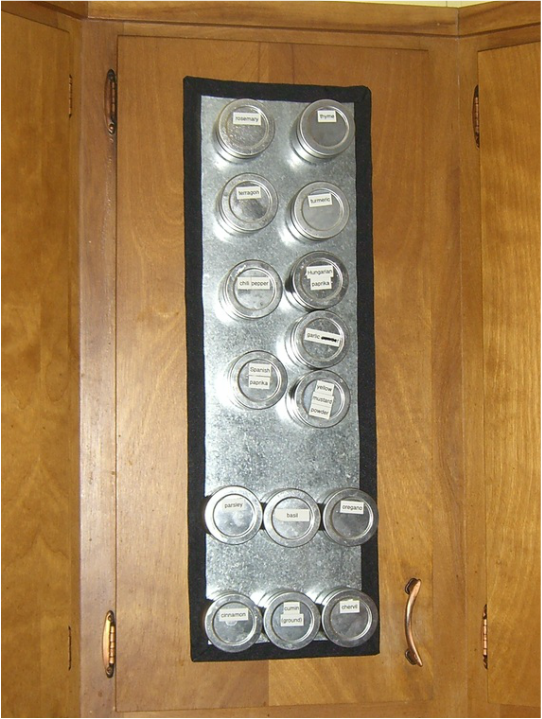
Here's a picture of one of them up. As you can see, with an 8" wide piece of metal, I can easily fit three tins across. We just have out most frequently used spices up, but both boards will hold everything we have (about 45).
The project was a little time consuming (drying epoxy), but really pretty easy. And when we move, we'll just need to put new strips on the new cabinets, and we'll be ready to go again.
________________________________
A couple notes:
Labels: I bought a Brother label maker (this one: Clicky), I caught it on sale for just $10.
Magnets: I got my magnets on eBay - I used "Strong Rare Earth Neodymium Disc Magnets 12.5 x 1.5mm (1/2 x 1/16 inch)" magnets. Do NOT purchase anything thinner than that! The 1mm thick magnets crack realllllllly easily. I used two of these per tin. I checked the label on the front, then added the two magnets at the top and bottom of each tin (based on where the label was).
