DIY Christmas gifts! 2011
Crayon art!
I have two nieces, ages 4 and 5. I have seen a few neat crayon monograms on Pinterest, and wanted to try my hand. Originally I wanted to do the monogram out of the whole crayon, and then I got scared. Of all that style I saw, there were only a couple I would call perfect successes, and the others just looked like kind of a mess. So THEN I changed it to melting them. I bought nice vinyl letters, with the idea that I would melt over the vinyl, then pull them off, leaving a negative white space. Yeah... another big ol' fail. I couldn't get the vinyl to properly adhere.
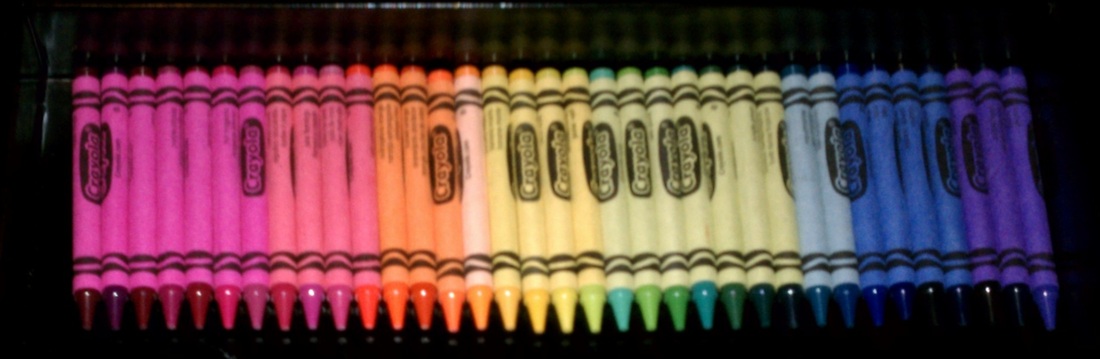
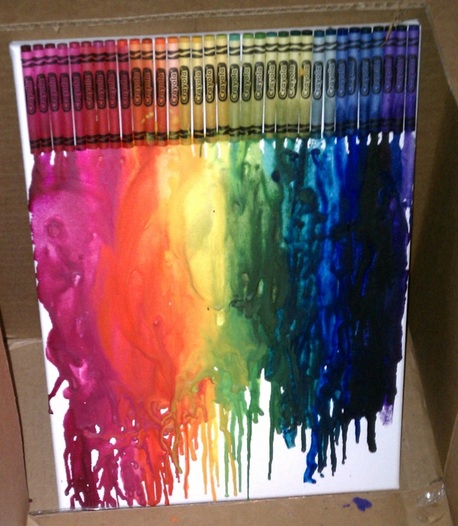
First, I laid out a bunch of colours, approx the width of the canvas.
First, I laid out a bunch of colours, approx the width of the canvas.
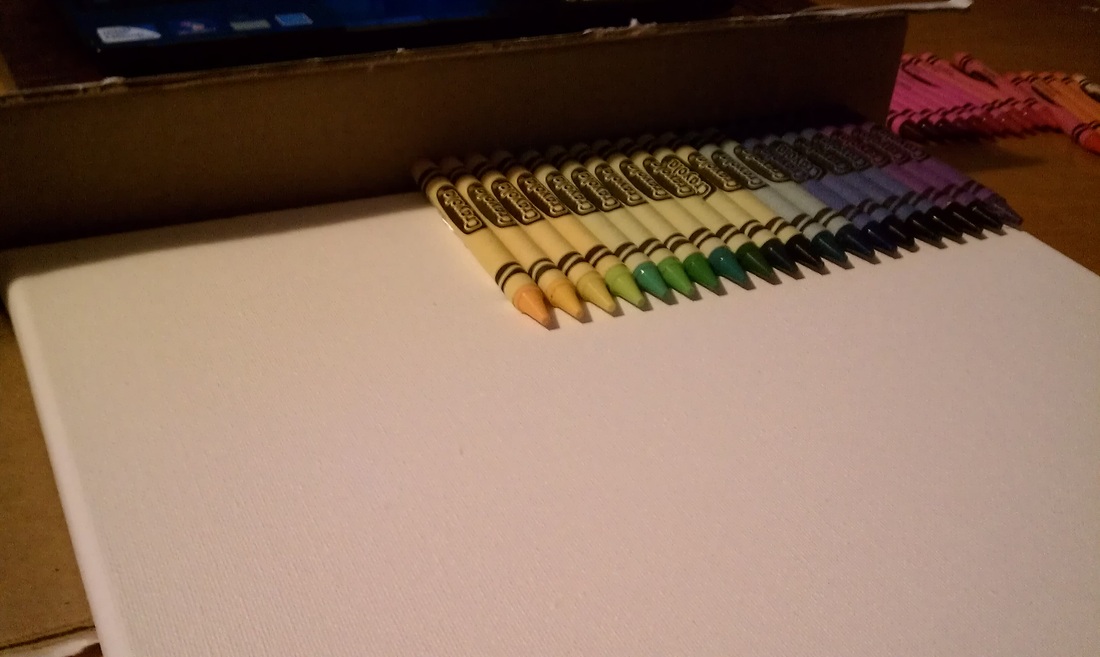
I created a kind of "stopper" with a cardboard box, so that I could butt the crayons up to it, and they would be "level" across the top. I used hot glue to adhere them.
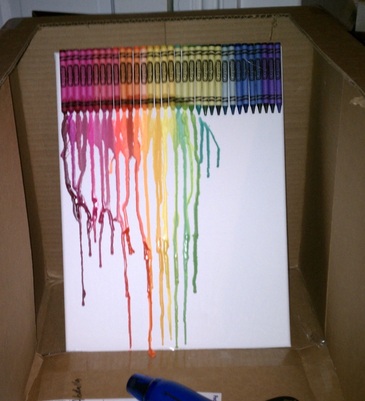
I used a big box as my melting station. There was definitely some experimentation with the heating distance and duration. I used an embosser. Things to note: 1) don't get too close or hold it in one place too long, it WILL burn your canvas/the crayon wrapper. And 2) different colours need different amounts of heat to melt.
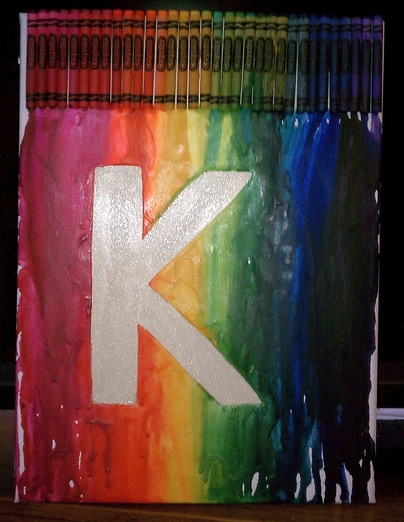
The photo on the left is the "done" phase of melting. To get her initial in it, I decided to cut the letter out, and glue a sparkly piece of scrapbook paper to the back. Not the most successful idea. But I had run out of time, and had to get it into the mail. Cutting the letter out meant raw edges, so I tried to melt it "over" the cut edges, and as you can see with the green, it mostly just melted down along. Cutting it also made the canvas "buckle," as in, it was no longer taut.
|
|
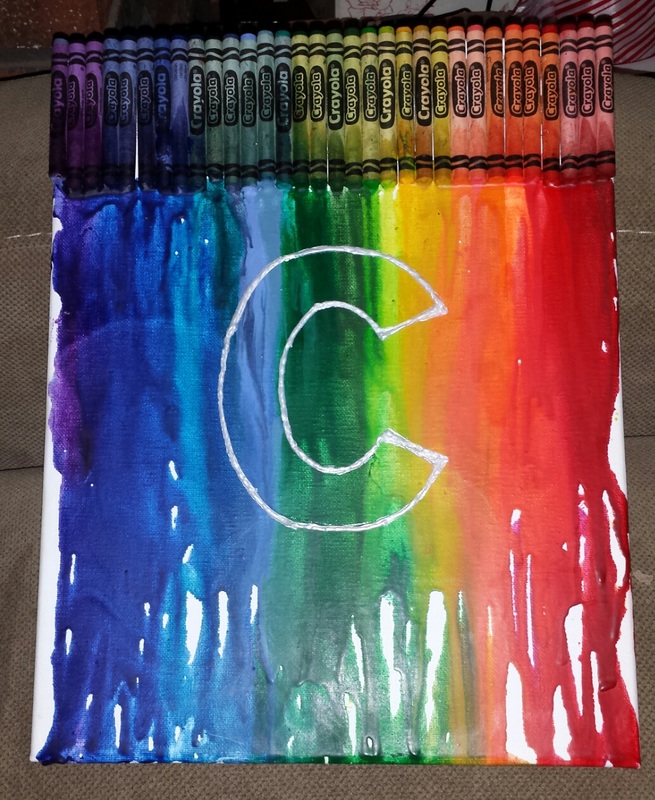
With that experience under my belt, I decided to try a different approach. This time I used puff paint.
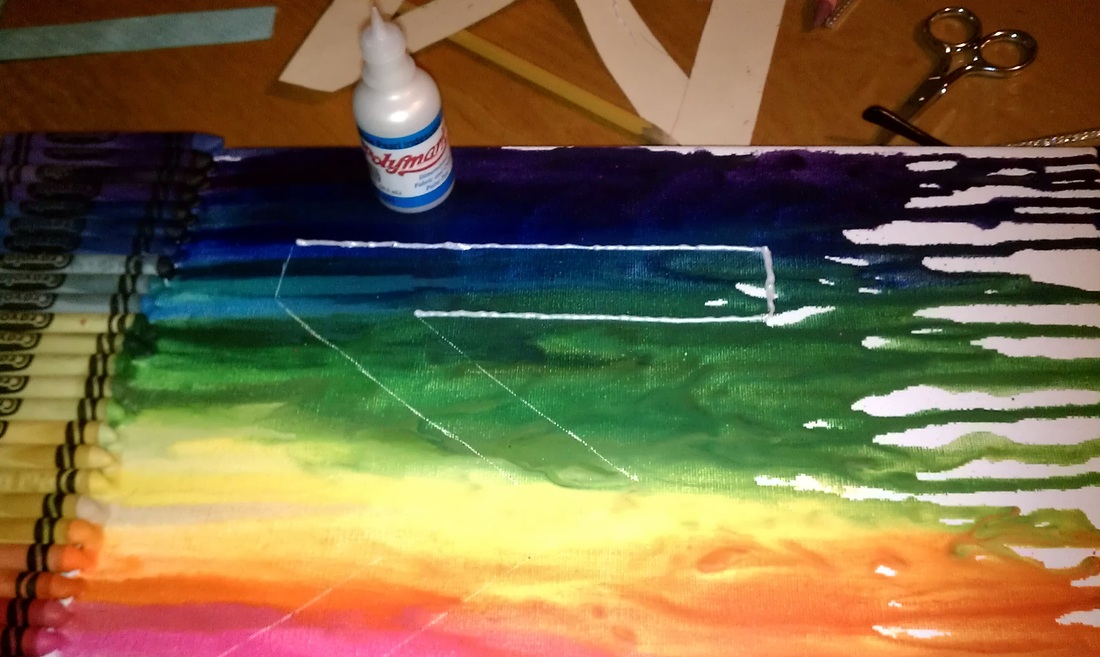
Now this isn't "finished," but it's the last picture I have. I added a couple more "layers" to the paint, to widen it.

Xmas 2014, for our new nephew :)