My name is Jena, and I've been nick-named the Vista Print Goddess.
Feel free to email me through the contact form on the home page.
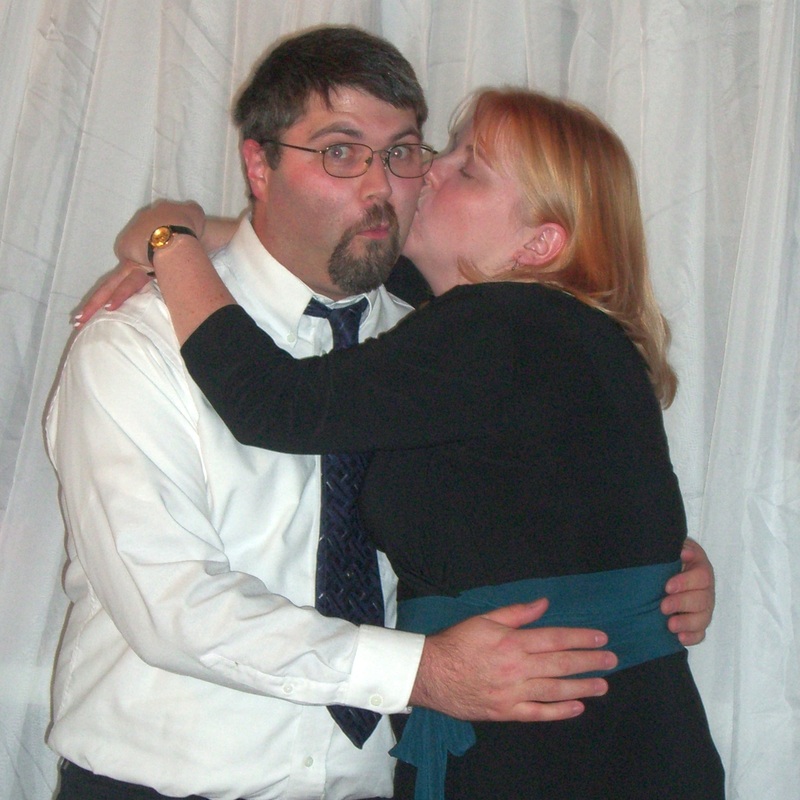
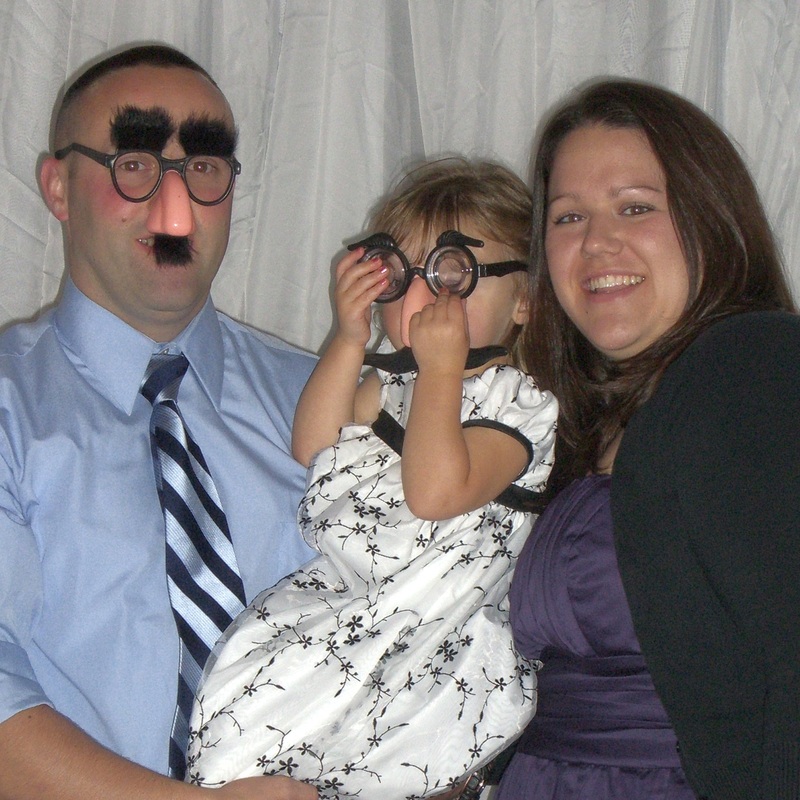
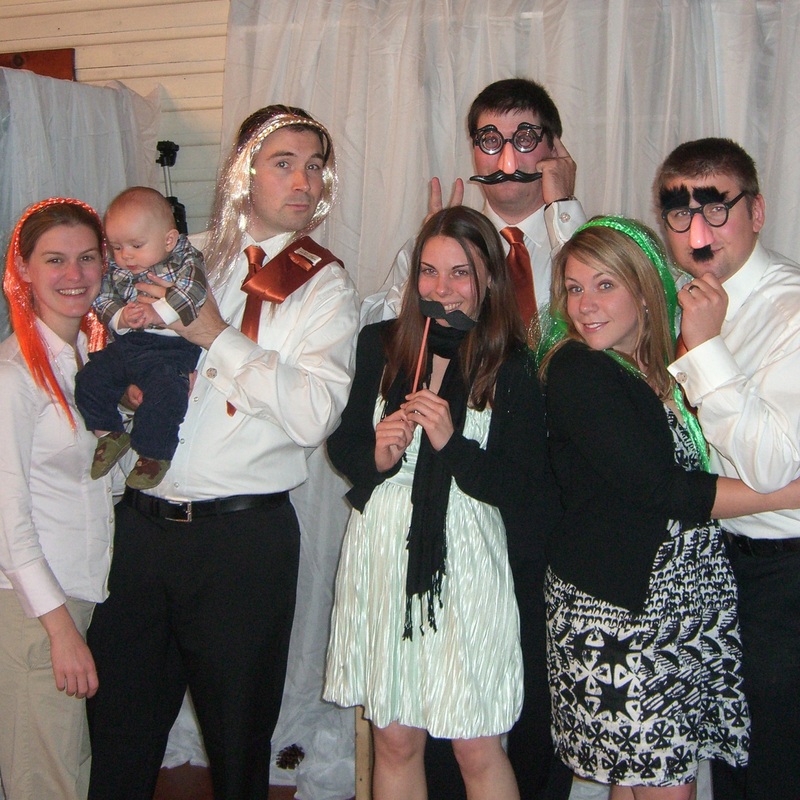
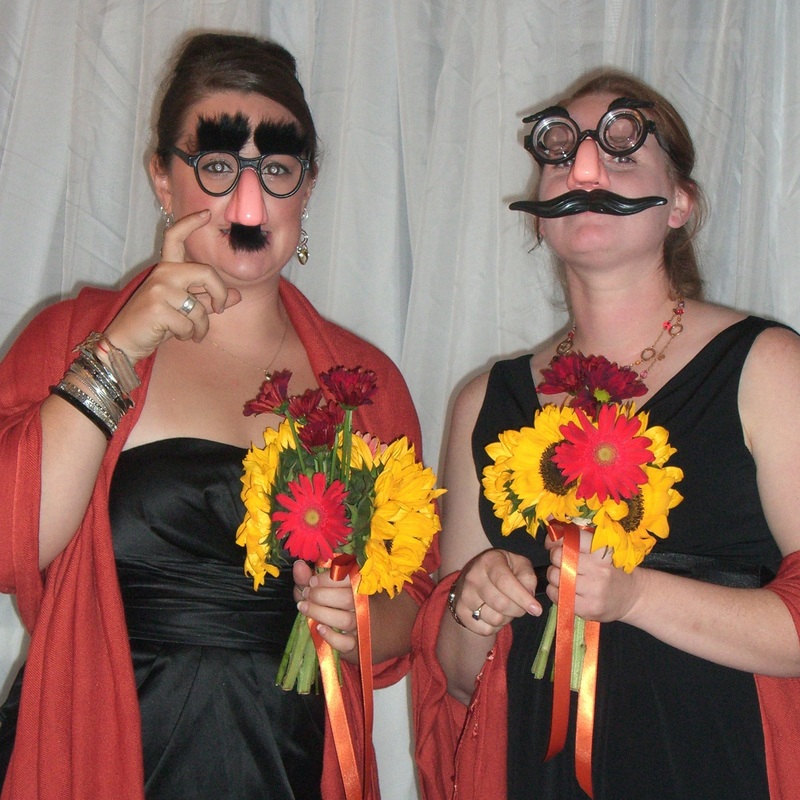
Probably the first decision I made, after Ross proposed, was that I wanted a photobooth at the wedding. I thought it would a)be fun and b)provide a completely different kind of photo for the wedding book.
And I wasn't disappointed! Everyone got into it, even the "older generation." I did mine for $170, which certainly beats renting one for $2000. But, I could have done even better, had I had a more realistic guest count. I wanted to over-buy; I'd rather have had too much with leftovers, than not enough with disappointed guests! Had I purchased the "correct" amount of supplies, I could have done it for easily under $100 (probably more like $70).
Here's how I did it:
I started by searching around for online tutorials. I found this website to be the most useful: http://sites.google.com/site/melism318/diyphotobooth I bought two of the same printer she used, the Canon Pixma mini260. I found them to be extremely user friendly. There's a layout option of 8 pictures, which we used to make two strips of four. I spent $56 (with shipping) on two printers on eBay. I highly suggest eBay for finding great deals, but I also advise for caution, and lots of research. Be sure to buy from a reputable seller (99%+ feedback score), and read the description carefully to ensure you're getting what you want. I bought both of mine as "new" unused, still in the box. Be sure it includes all cords and ink (unless you want to buy it separately, which is also an option). Start early, and watch for good deals. A lot of them are selling new on eBay for $50-80. By taking my time and watching lots of auctions, I paid $25.50 for one, and $30.50 for the other. Just takes patience and time. I could have gotten away with just buying one (the pictures don't take very long to print), but I wanted to have a back-up, in case anything happened to the first one. I never even took it out of the box, other than to set it up to test it.
Also on eBay, I purchased two boxes of 100 4x6 print pages, and 6 back up inks. This cost me (after looking for the best deal) $43. We used maybe 80 pages, and never even finished the first ink cartridge. So there was more money spent, that turned out to be unnecessary. But, I wanted that cushion.
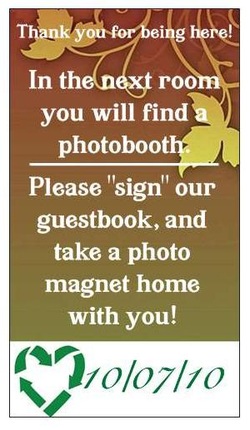
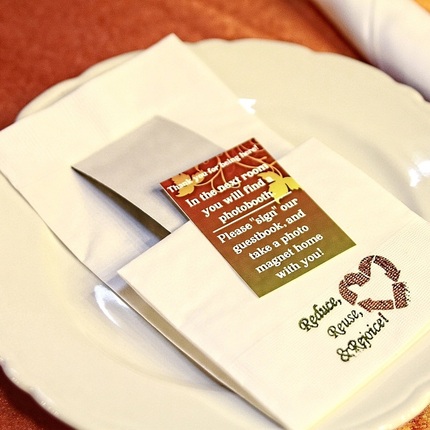
I purchased our favour cards on VP, using the free premium business cards. The top half was tucked into each place setting. The bottom part was cut off, and pre-attached to the magnets.
I bought the magnets here: CLICKY. I bought two rolls of 2" wide peel-n-stick magnets ($63), then cut them to length (just under 6.5" with the favour tag at the bottom). I only used one of the two 50' rolls.
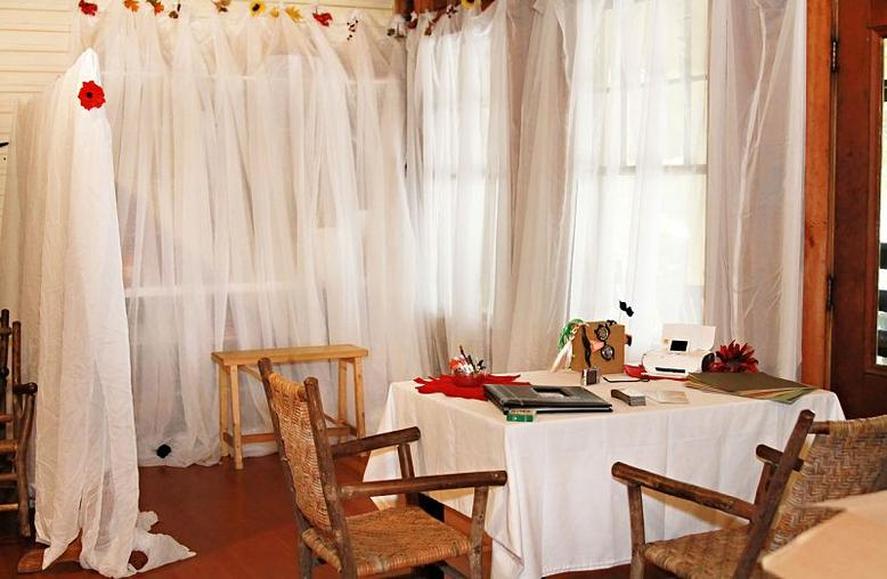
As for the "booth" part, we used fabric my mom had on hand. A white background means less ink used! The table in front of it held the printer, a few props, and the guestbook supplies (a 12x12 scrapbook, paper, pens, etc). We were able to staple directly to the wall, but a similar set up could be obtained using those freestanding garment racks ($20 at the Home Depot). The set up can be as elaborate or as simple as you like. I saw some really clever ones made to look like whole walls with "portraits" (cutouts with nice frames that people stand behind).
I think having someone man the booth is really important. Like I said earlier, the printer I used isn't overly difficult, but it's just not something you want your guests to have to do. It'll really mess up the flow.
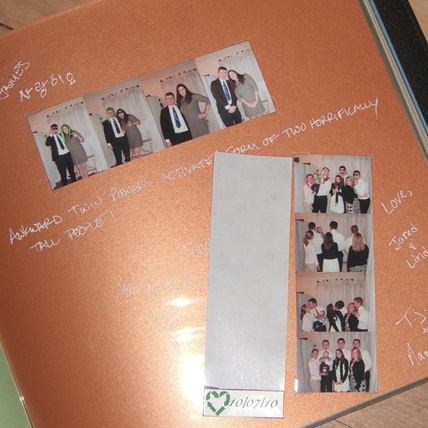
The printer I used didn't need to be connected to a computer at all, which was nice, and meant there was no software to buy. I already had two memory cards, and we just swapped them back and forth. One was in the camera taking pictures, and the other was in the printer. Once the 4x6 was printed, we cut it down the middle - one half for the guestbook, and the other for their magnet.
Also on eBay, I purchased two boxes of 100 4x6 print pages, and 6 back up inks. This cost me (after looking for the best deal) $43. We used maybe 80 pages, and never even finished the first ink cartridge. So there was more money spent, that turned out to be unnecessary. But, I wanted that cushion.
I purchased our favour cards on VP, using the free premium business cards. The top half was tucked into each place setting. The bottom part was cut off, and pre-attached to the magnets.
I bought the magnets here: CLICKY. I bought two rolls of 2" wide peel-n-stick magnets ($63), then cut them to length (just under 6.5" with the favour tag at the bottom). I only used one of the two 50' rolls.
As for the "booth" part, we used fabric my mom had on hand. A white background means less ink used! The table in front of it held the printer, a few props, and the guestbook supplies (a 12x12 scrapbook, paper, pens, etc). We were able to staple directly to the wall, but a similar set up could be obtained using those freestanding garment racks ($20 at the Home Depot). The set up can be as elaborate or as simple as you like. I saw some really clever ones made to look like whole walls with "portraits" (cutouts with nice frames that people stand behind).
I think having someone man the booth is really important. Like I said earlier, the printer I used isn't overly difficult, but it's just not something you want your guests to have to do. It'll really mess up the flow.
The printer I used didn't need to be connected to a computer at all, which was nice, and meant there was no software to buy. I already had two memory cards, and we just swapped them back and forth. One was in the camera taking pictures, and the other was in the printer. Once the 4x6 was printed, we cut it down the middle - one half for the guestbook, and the other for their magnet.
 |
 |


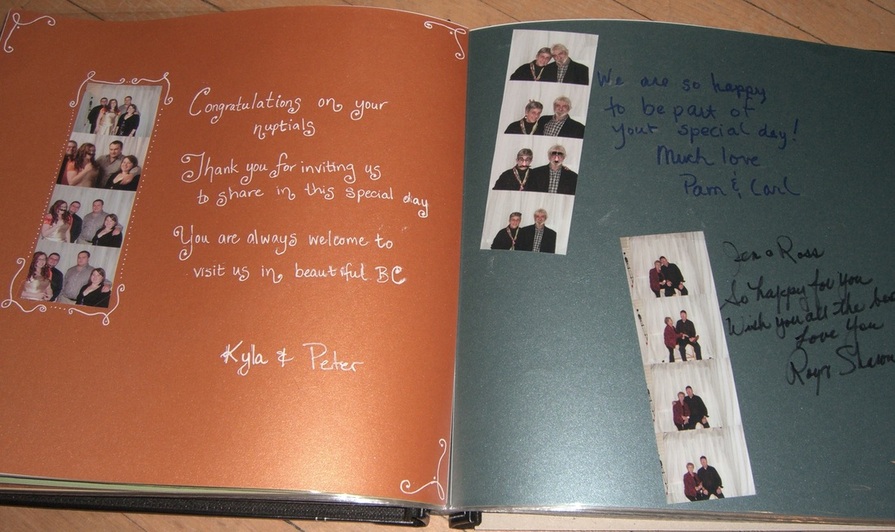
What I added to the scrapbook/guestbook:
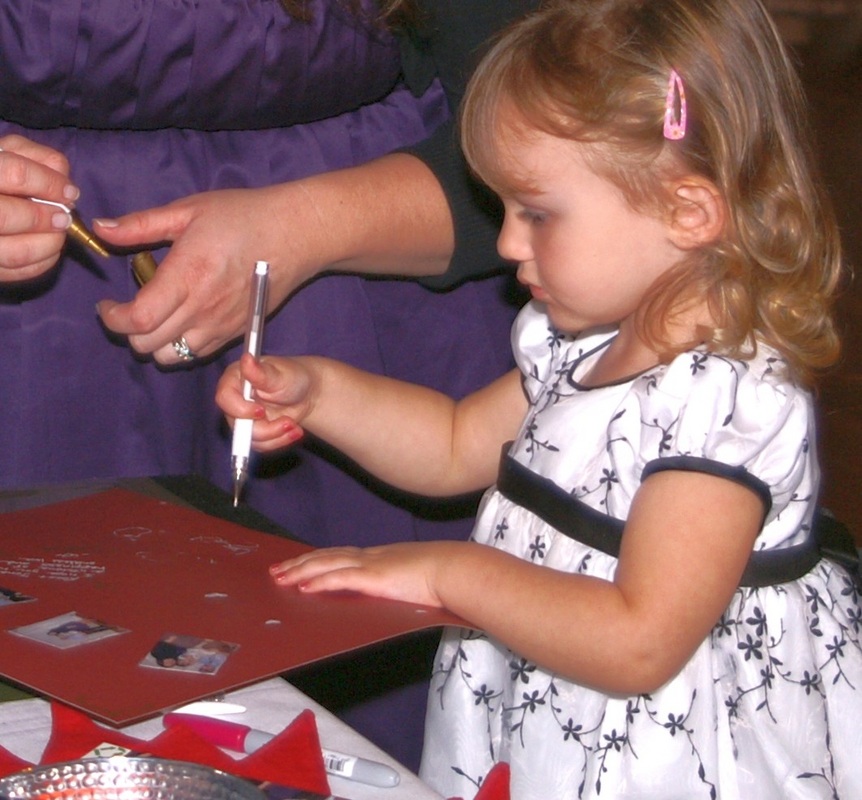
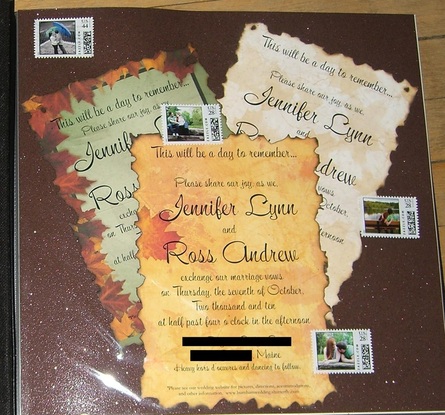
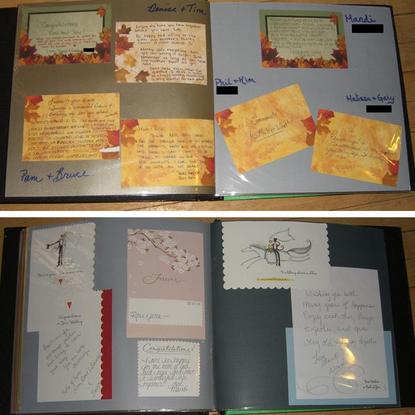
The whole idea of the scrapbook was to be a guestbook. We asked our guests to fill out the front of the RSVP postcard with words of advice, artwork, or memories. Unfortunately, a lot of people didn't do this, they stink. But many people took the time, and we appreciated it. We thought it would be a nice way to include in our guestbook even those who couldn't come. So the book starts out with our invites (all three, we couldn't narrow it down) and our custom stamps. Then comes the RSVPs, shower cards, photobooth/guestbook pages, wedding cards, and finally our Thank You cards and the second set of customs stamps.
 |
 |
